HOW TO MAKE A CENTERPIECE

At Blueprint Earth, we understand the power of design in every setting. This guide covers everything from floral arrangements to DIY centerpiece ideas, offering actionable steps and creative inspiration to help you craft something beautiful and uniquely yours.
Why Centerpieces Are Important
Centerpieces set the tone, spark conversation, and showcase your unique style and creativity. They bring people together around beauty and design.
Centerpieces have the power to transform a table, sparking conversation and showcasing your creativity while bringing people together around thoughtful design. In winter, when we crave the beauty of blooms, a centerpiece featuring evergreens from your garden paired with fresh market flowers offers the perfect way to refresh your indoor spaces. By bringing the outside in, you can infuse your home with a personal, organic touch that hints at the bloom season ahead. Whether for a holiday, dinner party, or everyday charm, a well-designed centerpiece adds warmth and brightness when it’s needed most.
Floral Centerpiece Tutorial
If you find yourself longing for the beauty of blooms during the winter months, a thoughtfully crafted centerpiece can offer a glimpse of the bloom season to come, adding warmth and brightness to your home when we need it most.
Here’s what you’ll need:
Fresh flowers (variety of colors and sizes)
Greenery (e.g., eucalyptus, ferns)
Wire netting such as chicken wire (we avoid floral foam- see below)
A sturdy vase or container
Pruning shears
Water

I. Niwaki Sakagen Flower Scissors sold by Garden Heir / III. HAWS 2 Gallon Watering Can sold by Garden Heir
Step 1: Insert wire netting
Place a piece of wire netting inside your vase to provide structure for your arrangement. Secure it with waterproof tape if necessary.
Step 2: Arrange your base layer of greenery
Start with long-stemmed greenery. These stems will establish the shape and size of your centerpiece. This base layer will serve as the foundation of your centerpiece.
Step 3: Add a second layer of greenerY (optional)
Use shorter greenery to create volume and texture, ensuring it’s evenly distributed throughout the arrangement. Pro tip: Greenery doesn’t have to be green—dried foliage or floral skeletons can add unique texture and interest at this stage.
Step 4: Add your colored stems
Introduce vibrant stems such as tulips or roses to add a pop of color. Cluster colors strategically to create balance.
Step 5: Add your largest flowers
Before you get too far along, add any large flowers, like peonies or hydrangeas, to showcase their beauty. These will naturally become the focal points of your arrangement.
Pro tip: Give them room to breathe! If they look cramped, trim the surrounding greenery (instead of pulling stems out of the vase) to allow them space to shine.
Step 6: Add your smaller flowers
If needed, fill in any visual gaps with smaller blooms like ranunculus or daisies to add depth and variety.
Pro tip: Embrace the power of negative space. Just like in our landscape designs, a well-placed path or some hardscaping helps guide the eye around the space. Sometimes, leaving breathing room in a design is just what’s needed. A cramped arrangement can appear forced and unnatural, while thoughtful space allows the beauty to unfold naturally.
Step 7: Add your secondary accent florals
Use secondary accents like berries or dried stems to enhance the texture and composition.
Step 9: Fluff and fill in any gaps
Step back and evaluate your arrangement. Make any necessary adjustments to achieve a balanced, full look. Pro tip: Always clip pieces out of the arrangement instead of pulling them—this prevents disrupting the foundation and preserves the placement of stems.

Progression of a centerpiece.
Bonus: Beautiful Centerpiece Ideas You Can DIY in Minutes
Short on time for a nine-step centerpiece? Want a quick way to bring the outdoors in? These effortless ideas offer maximum impact with minimal effort. We’ve pinned some of our favorites, take a look!
A Bunch of Just Tulips
Group vibrant tulips in a simple vase for effortless beauty and ease.
Pumpkins and Greens
Lay small pumpkins or seasonal produce alongside fresh greenery in the center of the table for a simple yet elegant seasonal display.
Fruit Fillers
Fill a clear vase with lemons, limes, or apples for a fresh, colorful centerpiece.
Fruit Display
Arrange fruits like figs and pomegranates on a wooden board for a rustic vibe.
Row of Blooms
Line up small vases with single stems for a minimalist look. Check your local market or florist blooms like cosmos, daisies, astrantia or butterfly ranunculus.
Pots of Herbs
Arrange pots of fresh herbs like basil and thyme for a fragrant, edible centerpiece.
A Bunch of Branches
Place tall, bare branches in a vase or arrange them along the center of the table for a dramatic and sculptural effect.
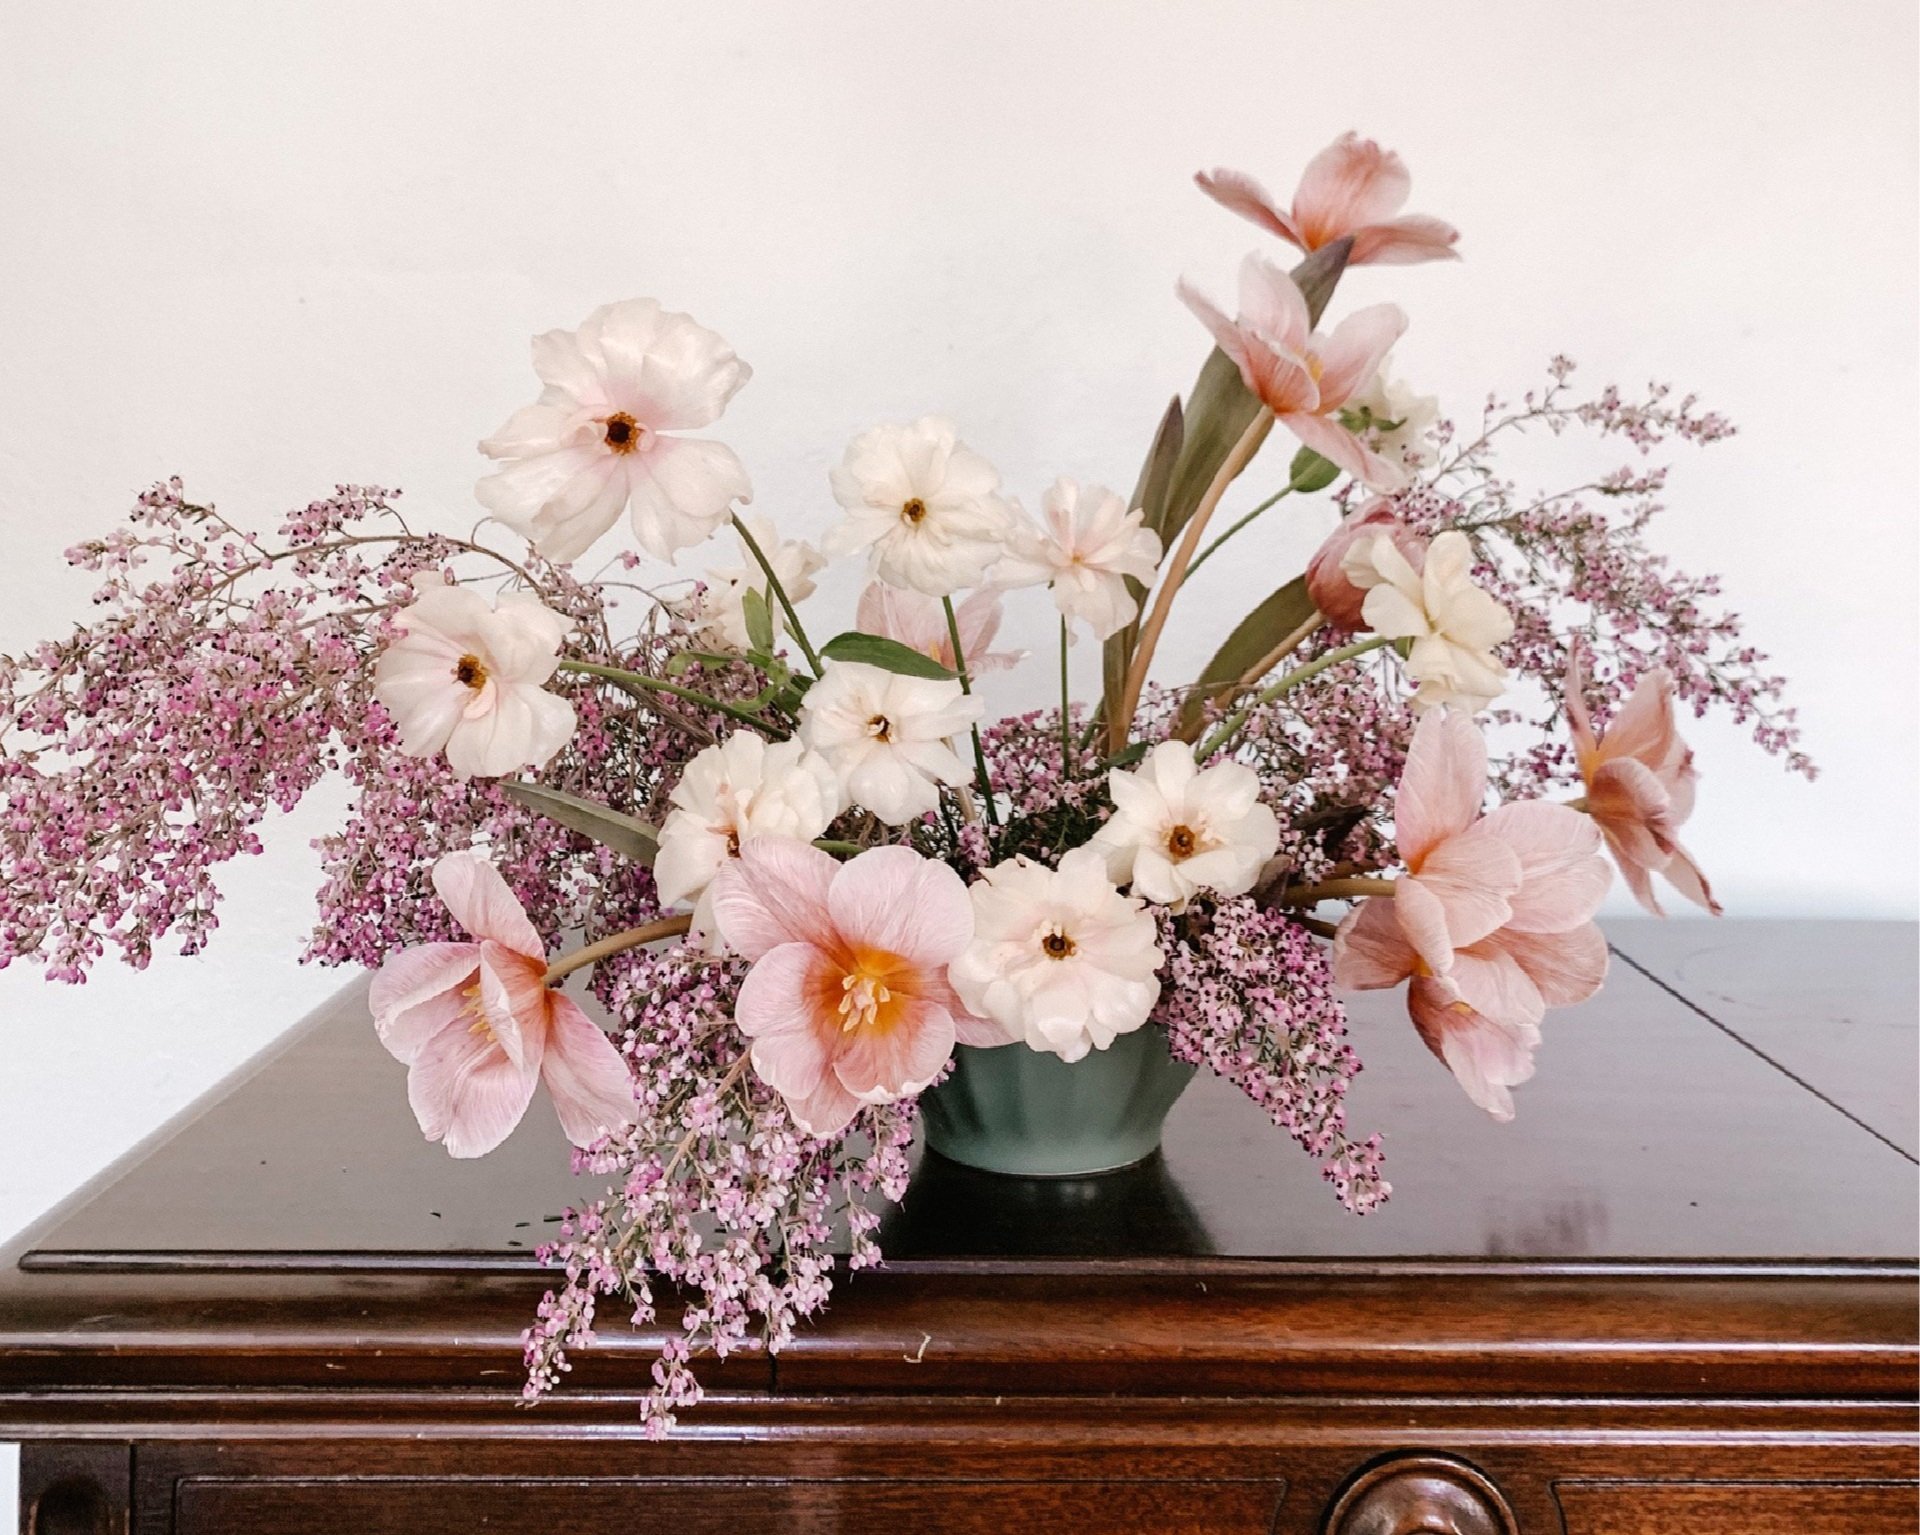
A completed arrangement of tulips, heather as greenery, and butterfly ranunculus.
How can I make a centerpiece last longer?
Use fresh flowers, refill the water daily, and for less intricate arrangements, trim the stems to prolong the life of your arrangement.
Do I need floral foam for a centerpiece?
Floral foam may seem convenient, but it comes with drawbacks: it’s harmful to the environment, challenging to conceal, and limits the natural flow of a design, often making arrangements feel stiff rather than organic. Instead, consider eco-friendly alternatives like wire netting or tape grids, which provide structure while allowing your design to breathe and evolve naturally.
Blueprint Earth is a Landscape Architecture Studio. We provide custom landscape design services, integrating themes of connection and nature. We serve clients throughout the Portland area, including Hood River, Manzanita, and Whitefish, specializing in personalized design solutions. Occasionally, we travel beyond these locations as well. Reach out to us here and share details about your project.